Making Hex Sticker Magnets
What are we making? HEX MAGNETS!
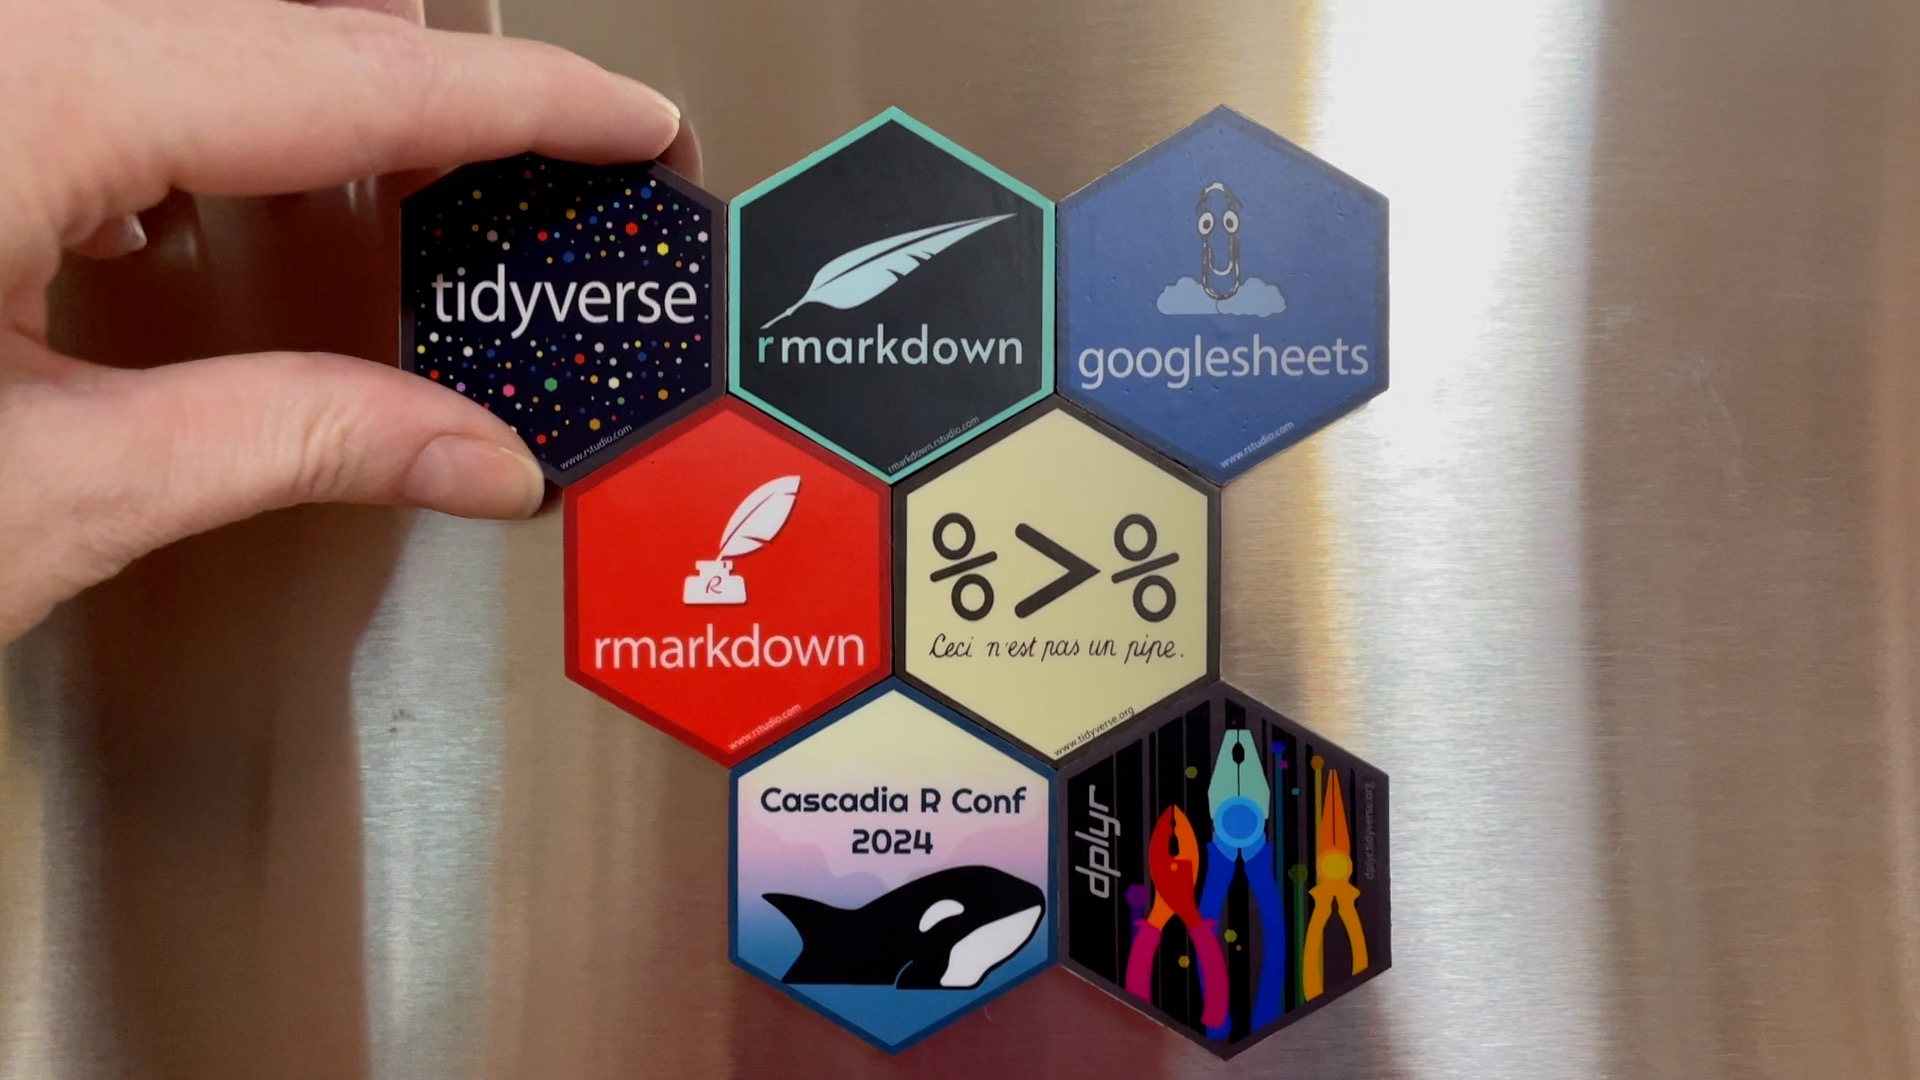
I have a bazillion hex stickers from various R-related activities, but there’s only so much real estate on my laptop. I wanted to make some magnets out of my stickers so that I could display them in a cool way and be able to rearrange and move them whenever I wanted. This is what I came up with and it turned out to be a super fun and accessible weekend project. Keep reading to see materials, instructions, and a short how-to video.

What you’ll need
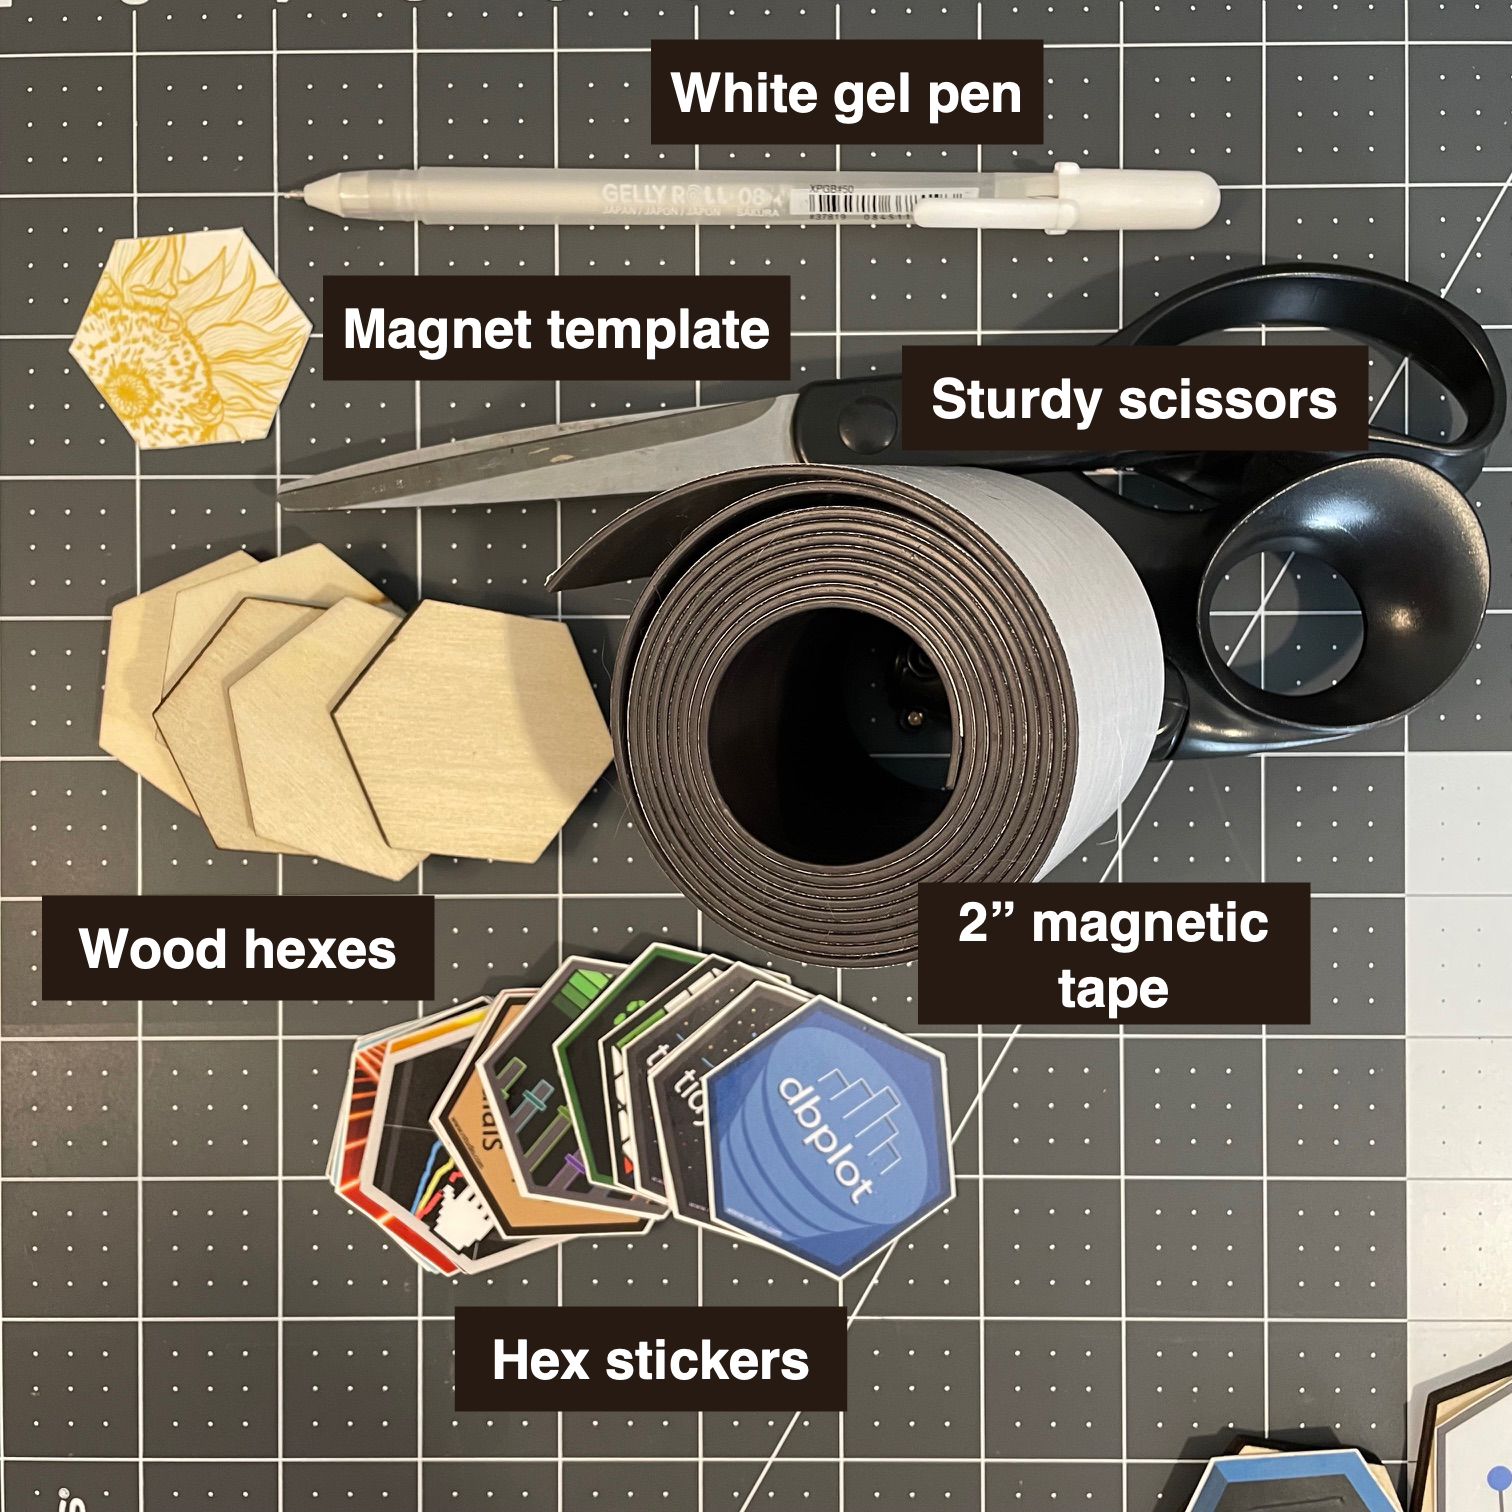
Wood hex tiles - I paid $13 for 120 of them.
Magnetic 2” tape - I paid $19 for 10 feet.
Hex stickers - I already had a bunch, as I’m sure you do.
Sturdy scissors - I’m using an ancient pair of serrated scissors, but I think any pair of sturdy shears will do. You may need to wipe them off periodically as they get gummy from the adhesive.
White gel pen - I’m using a Sakura Gelly Roll. I also had luck with a pencil, but it’s harder to see on the magnet!
Paper template for magnets - I made this from a piece of card stock junk mail. I traced one of the wood hex tiles and then made the template about 1/8” (2mm) smaller all the way around.
I’ll eventually mount these on a magnetic chalkboard of some sort!
How to assemble the magnets
Don’t feel like reading? Watch this:
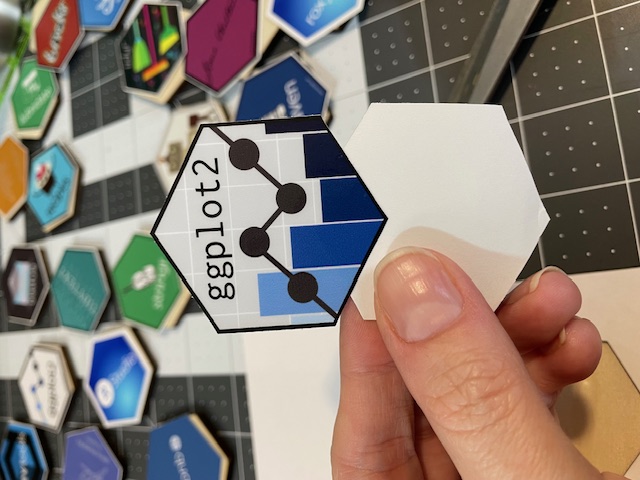
Step 1: Check the fit of your hex sticker
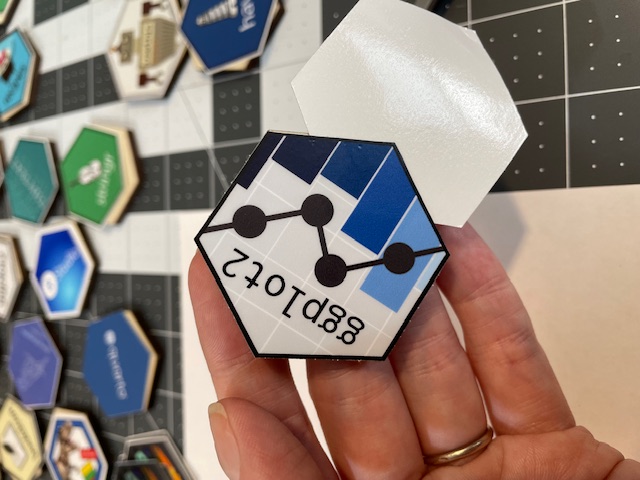
Being from different manufacturers, hex stickers aren’t one uniform size or shape, and these wood hexes probably have slight variations, too. Checking the fit of your sticker against the tile is a good idea. Just place the tile on top of the face-up sticker to see how much hangs over. This helps with awareness of where to place the sticker on top.

Some hex stickers will be a little larger than the wood tiles. This is ok! I just trimmed off the excess after sticking them on. Scissors or a craft knife work fine for this.
Step 2: Place your sticker
Peel the backing off your sticker and then place it back on just one corner section. This gives you something to hold on to, and also lets you peel the sticker back off easily if you need to rearrange it.
If your sticker is exactly the same size as your hex, I’d keep the sticker face up and place it onto the hex tile. Gently stick down the corner furthest from your backing paper and use it as a pivot point to arrange the rest of the sticker. Don’t press down just yet, just get it in place. Your backing paper will be sticking out one side.
If your sticker is larger than the hex, I’d place the sticker face down and arrange the wooden hex tile on top of it so you can make sure an equal amount hangs over each side.
Once you like the positioning, press down gently on the side furthest from the backing paper to secure it, then gently peel and remove the backing paper and smooth the rest of the sticker onto the tile.
You can see there just a sliver of wood showing on one side, but I’ll just fill that with a permanent marker and you can’t tell.
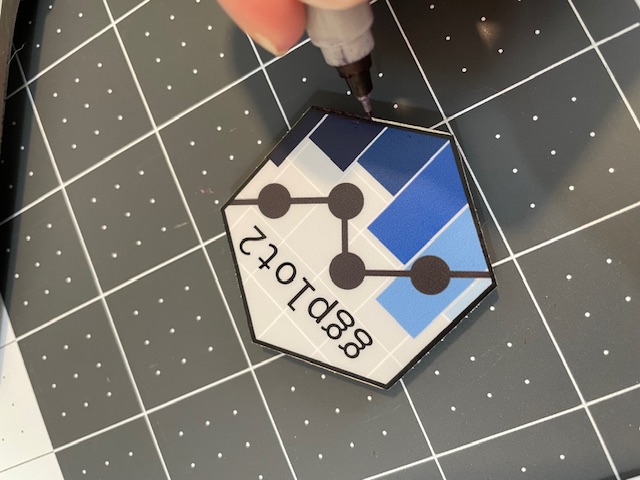
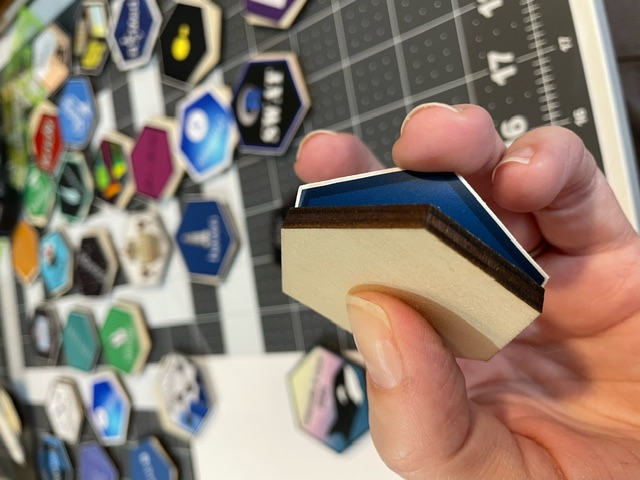
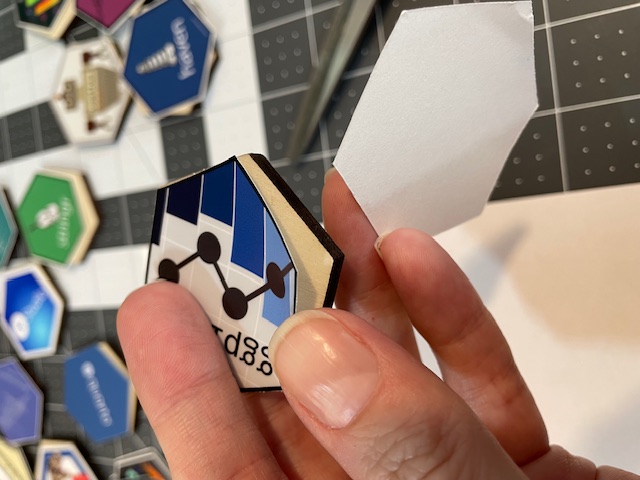
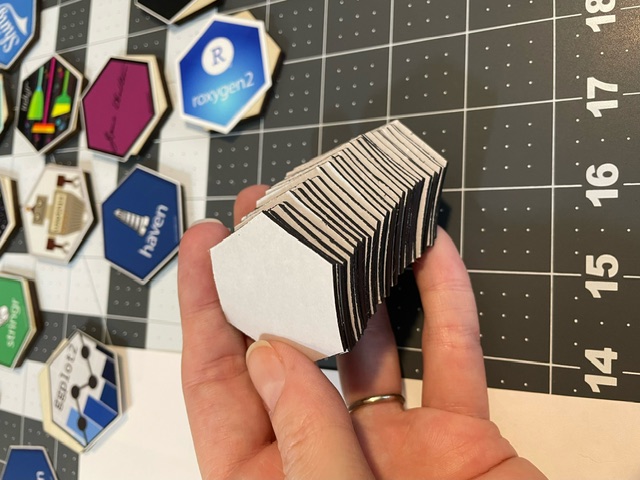
Step 3: Trace and cut out your magnet
Trace your paper template onto the dark side of the magnet. The backing paper of mine was too slippery to write on! Cut along the inside of the marking line so that there’s no white pen visible once it’s cut.

I went ahead and cut a whole stack while listening to a podcast. Nice bit of busy work.
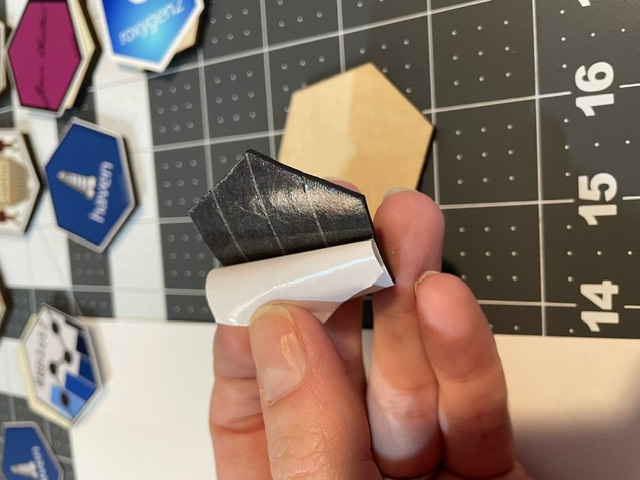
Step 4: Place your magnet
Peel the backing off of your magnet and place it on the back of the wooden hex tile. You don’t have to be precious about this part, just get it generally in the center.
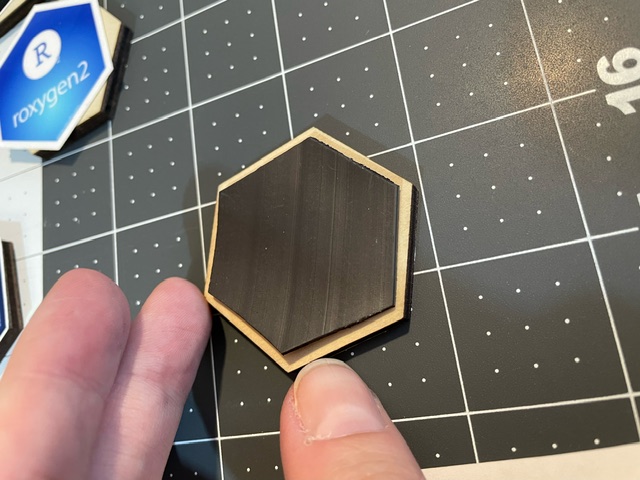
You’re done! Go make a bunch!
Pretty simple, right? Have fun! And tag me on LinkedIn if you make some, I want to see!